快捷键:Windows和Linux操作系统: Shift+F5 或 Ctrl+Shift+R
或者,用F12打开”开发者工具”,然后Refresh按扭上就有右键菜单了,在弹出菜单上选择”清空缓存并硬件加载”
黑白色空间
有了 node 后就可以安装 yarn 包管理器
添加仓库源并安装
1 | curl -sS https://dl.yarnpkg.com/debian/pubkey.gpg | sudo apt-key add - # key |
1 | echo "deb https://dl.yarnpkg.com/debian/ stable main" | sudo tee /etc/apt/sources.list.d/yarn.list # list |
1 | sudo apt update && sudo apt install yarn # 安装 |
2 | yarn --version # 检查安装的版本 |
添加路径到.bashrc才能使用全局安装的包。
1 | echo 'export PATH="$(yarn global bin):$PATH"'>>~/.bashrc # 添加路径 |
2 | source ~/.bashrc # 重新载入 |
这里采取 nvm 版本控制器来安装。
Install & Update script
1 | wget -qO- https://raw.githubusercontent.com/nvm-sh/nvm/v0.35.1/install.sh | bash |
简单重启 terminal,或者用手动更新变量,新建一个run.sh
1 | #!bash |
2 | export NVM_DIR="$HOME/.nvm" |
3 | [ -s "$NVM_DIR/nvm.sh" ] && \. "$NVM_DIR/nvm.sh" # This loads nvm |
4 | [ -s "$NVM_DIR/bash_completion" ] && \. "$NVM_DIR/bash_completion" # This loads nvm bash_completion |
使用source ./run.sh
检查是否成功
1 | command -v nvm # will output 'nvm' |
安装长期支持版的 node
1 | nvm install --lts |
增加了一些注意事项
.gitignore要添加忽略
1 | .DS_Store |
2 | Thumbs.db |
3 | db.json |
4 | *.log |
5 | node_modules/ |
6 | public/ |
7 | .deploy*/ |
8 | yarn.lock |
9 | themes/ |
hexo部署需要安装部署器
1 | yarn add hexo-deployer-git |
部署历史文件保留在/.deploy_git
主题使用next比较简洁,并且配置机制容易保存。
安装主题
1 | git clone https://github.com/theme-next/hexo-theme-next themes/next |
配置把/themes/next/_config.yml复制到/source/_data/next.yml并设置
1 | override: true |
主要针对教程openwrt部分,配置网关功能。
实现上网口接内网,下网口接外网可上网的局域网。从而控制经过的流量。
所需文件:
新建一个3c1g4ghhd的虚拟机,添加上下两个网口。
下载的镜像解压出来,ssh登录并上传服务器,使用镜像转虚拟磁盘工具./img2kvm ./xxx.img 100转换到编号为100的虚拟机的硬盘后,添加到虚拟机挂载并设为引导启动。
登录openwrt,在/etc/config/network里修改ip,重启即可
经过实践测试,对想法进行验证。
内网口静态ip,网关也是配置成自己,外网口动态ip即可上网。
就是这么简单,主要巩固了网络发包的过程,促进协议的理解。

Hexo是基于node的博客生成器,你可以使用md语法进行编写,然后生产静态网页部署。
对于我来说,选择Hexo是一种学习的过程,也是急需一个可以使用的GitHub博客,也是积累经验为自己开发做准备。
初次使用的缺点是,md是通过编译生成静态页面的,也因此添加了额外的标志去解析标签,而不像GitHub是直接渲染md。当然,这也是博客系统的复杂性提出的要求,文档,样式,富文本,资产等是绕不开的话题。能够不使用数据库,如此轻量的解决博客存储问题,已经是相当了不起了。在此感谢Hexo的作者!
准备工作:新建[your user name].github.io的存储库。
安装脚手架
1 | yarn global add hexo-cli |
初始化
1 | mkdir blog |
2 | cd blog |
3 | hexo init |
添加部署存储库
1 | deploy: |
2 | type: git |
3 | repository: https://github.com/[your user name]/[your user name].github.io |
4 | branch: master |
注意: 此处的是博客源文件,那你可以新开一个存储库去存储,和部署的存储库是不同的。(部署的只是public文件夹)
新建文章
1 | hexo new post '[your title]' |
生成html
1 | hexo g |
部署到存储库(需要git gui输入用户名密码)
1 | hexo d |
查看网页效果
1 | https://[your name].github.io |
全局图片可以放在source/images文件夹,并通过进行使用。
单独的资产文件需要开启选项_config.yml:
1 | post_asset_folder: true |
然后在使用hexo new [layout] <title>会同时生成同名文件夹,图片就放进去,并使用特殊标签去使用。
1 | {% asset_img Snipaste_2019-12-05_09-02-16.png exampel picture %} |
效果:

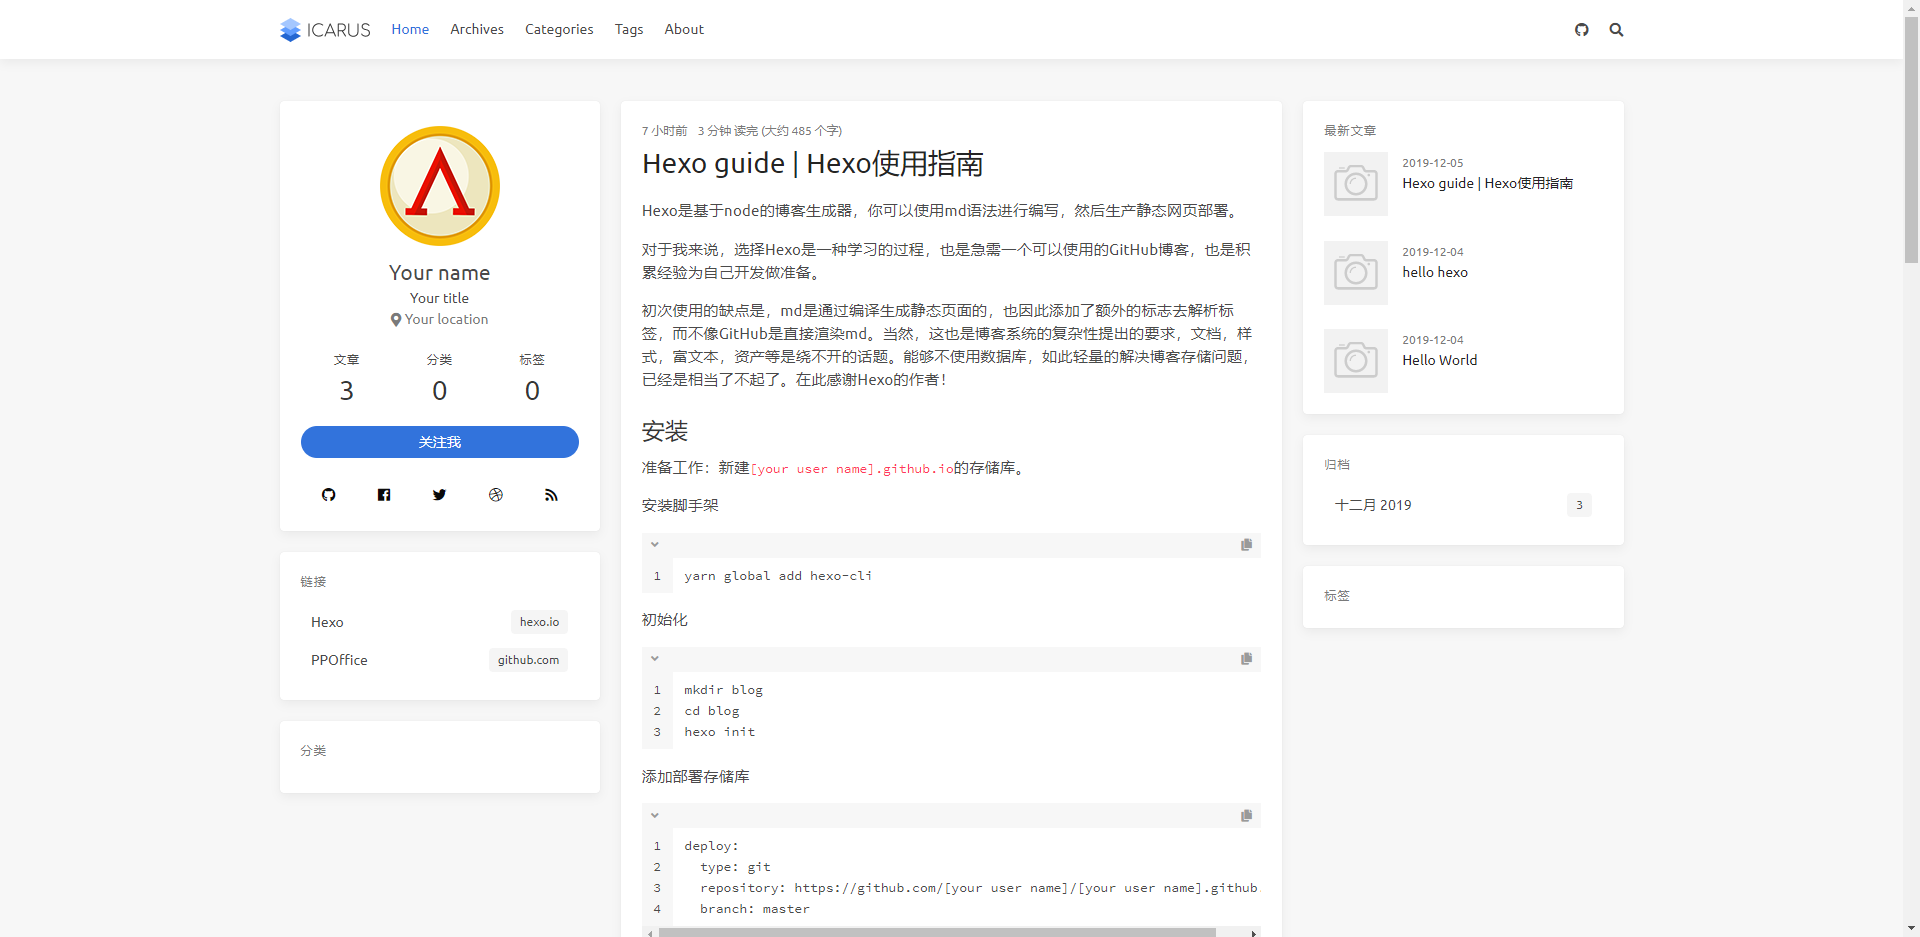
主题使用的是ICARUS,只要复制到主题文件夹再配置启用即可。
1 | git clone https://github.com/ppoffice/hexo-theme-icarus.git themes/icarus |
在主配置文件_config.yml中,找到并替换掉默认主题:
1 | theme: icarus |
效果:

是不是比默认的好看多了:D